You don’t need a printer to sell custom apparel. With ready-to-press DTF transfers, all you need is a heat press — position, press, peel, and you’re done. This step-by-step guide shows exactly how to apply pre-printed transfers for perfect results every time.
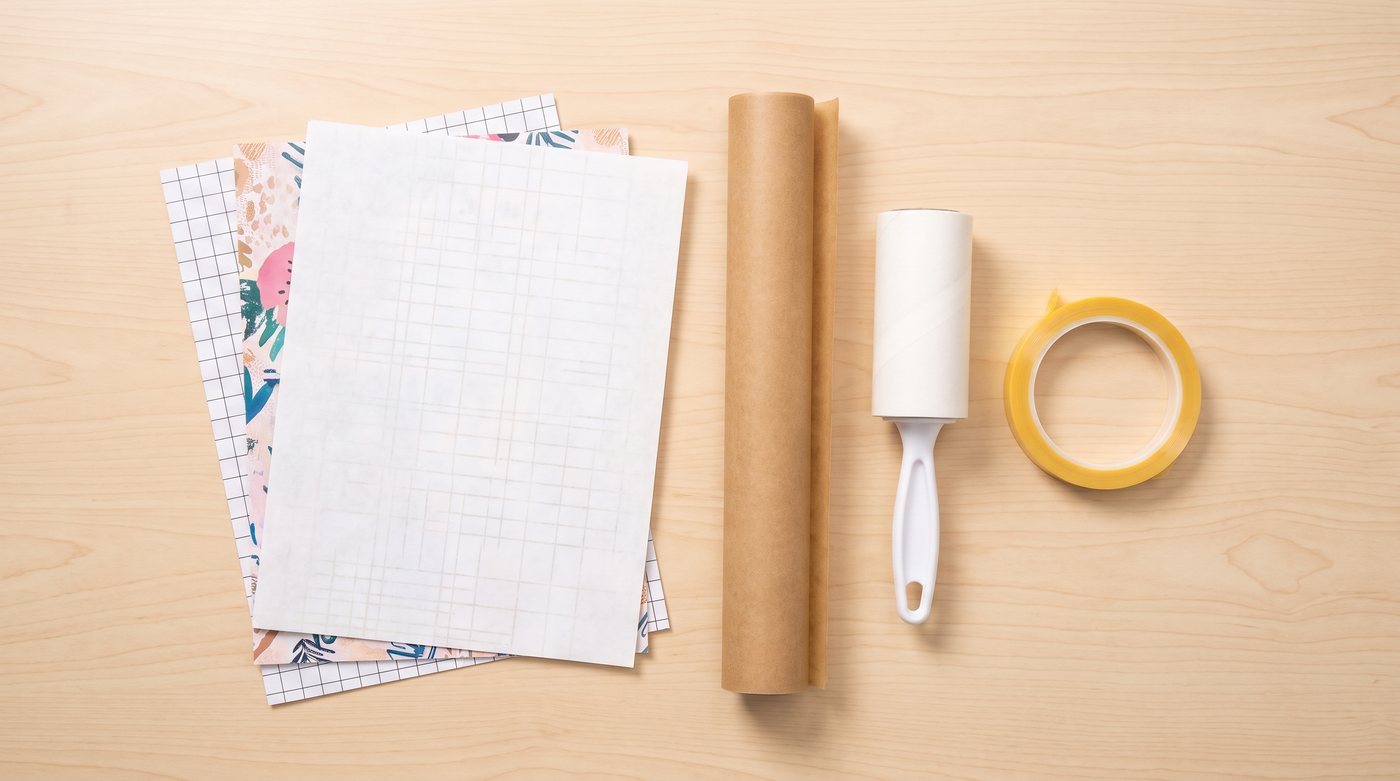
What you need
- Your pre-printed DTF transfers (from us or your own gang sheets).
- A heat press — a clamshell or swing-away with even, firm pressure. A household iron won’t give consistent results.
- Parchment or a Teflon sheet for pre- and post-pressing.
- A lint roller and a firm, heat-safe surface.
No press yet? See our starter equipment list.
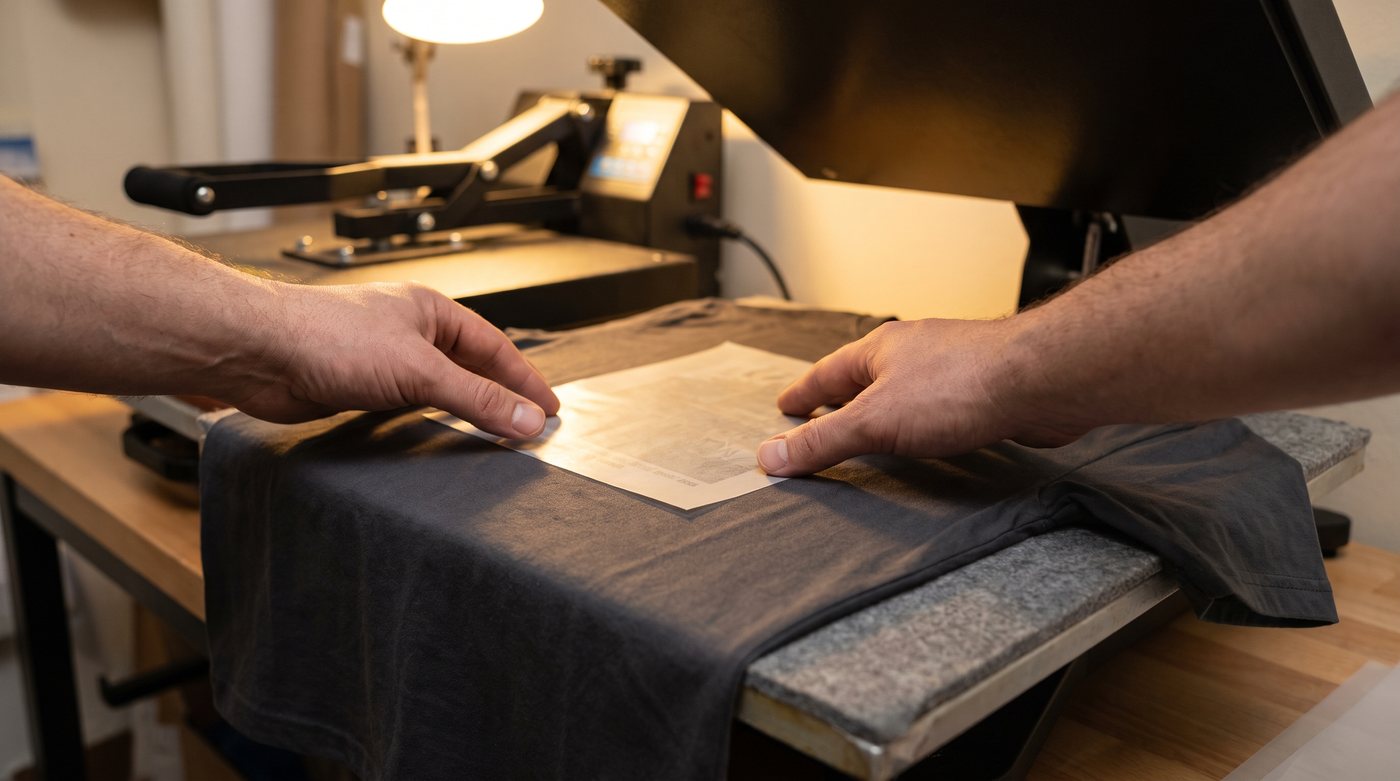
Step-by-step
- Pre-press the garment 3–5 seconds to remove moisture and wrinkles. Lint-roll the print area.
- Position the transfer print-side down where you want it. Use heat-resistant tape if it might shift.
- Press at your transfer’s recommended settings — a typical starting point is 300–320°F for 10–15 seconds with firm pressure (lower for polyester). Full details in our heat-press settings guide.
- Peel the film — hot or cold per your transfer. Ours are labeled; when unsure, let it cool and cold-peel.
- Post-press 5–10 seconds through parchment/Teflon to lock it in and soften the finish.
Hot peel vs. cold peel
Hot peel: remove the film immediately while warm — faster. Cold peel: wait until fully cool — often more secure and a matte look. Always follow the spec for the specific transfer.
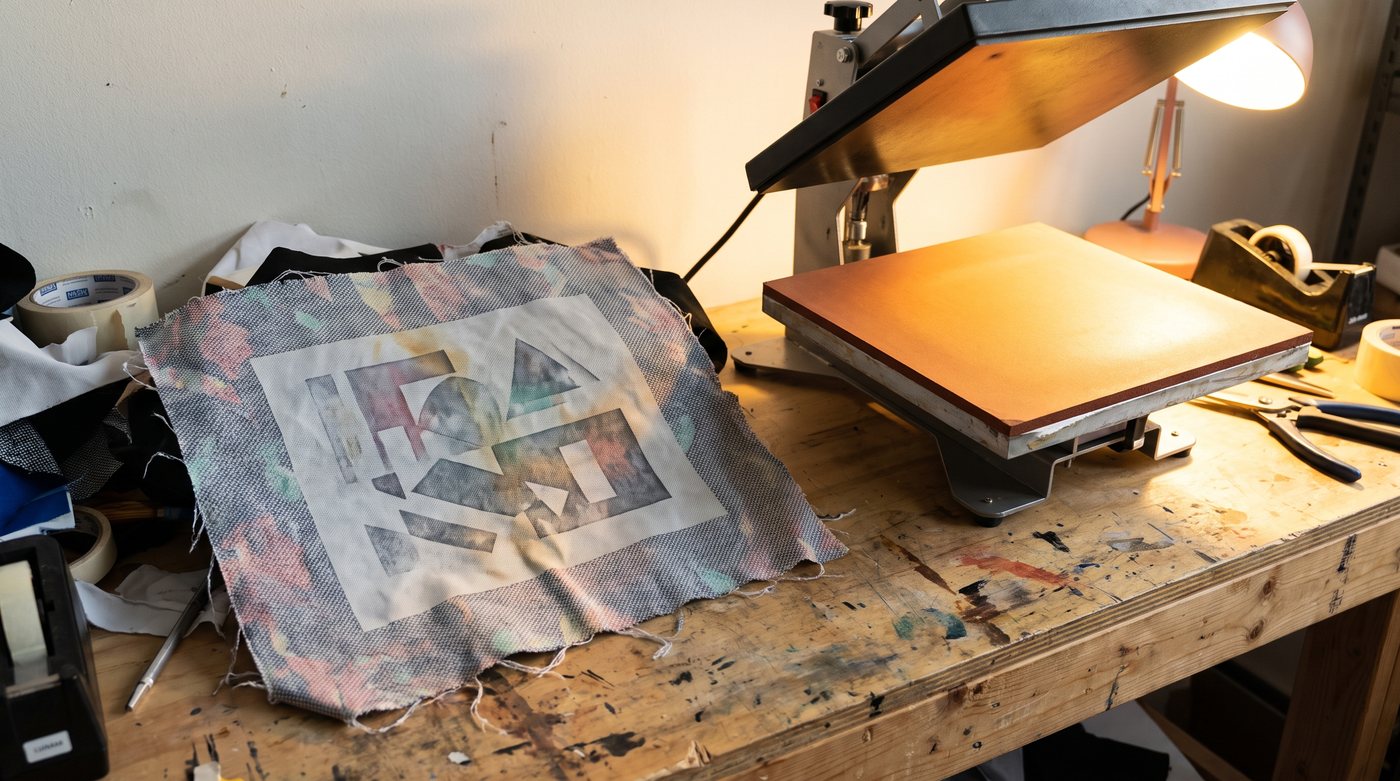
Pressing on different fabrics
Cotton takes full heat; polyester and performance wear need lower temperature and shorter time to avoid scorching and dye migration. Nylon, caps, and bags each have their own settings — see DTF on tricky materials. Test on a scrap of the same garment first.
Common mistakes
- Skipping the pre-press — trapped moisture weakens the bond.
- Not enough pressure — the #1 cause of edges lifting.
- Peeling at the wrong temperature — follow the hot/cold spec.
- Skipping the post-press — it noticeably improves wash durability.
- Using an iron — uneven heat and pressure means poor adhesion.
Make them last
Once applied, tell your customers to wash inside out, cold, and tumble dry low. Full instructions (and a copy-paste care card) are in our wash & care guide. If a transfer lifts or cracks, our troubleshooting guide covers the fix.
Storing unused transfers
Keep pre-printed transfers flat, cool, and dry, out of direct sunlight. They stay press-ready for many months — perfect for stocking popular designs and pressing on demand.
Ready to press and sell today? Order ready-to-press gang sheets and transfers, grab a heat press setup, or contact us for custom transfers.