Your RIP software is where a good DTF print is really made. It builds the white underbase, controls how much ink goes down, and manages color. Dial these settings in once and every print gets sharper, more vivid, and more durable. Here’s how to set up DTF Starr Software the right way.
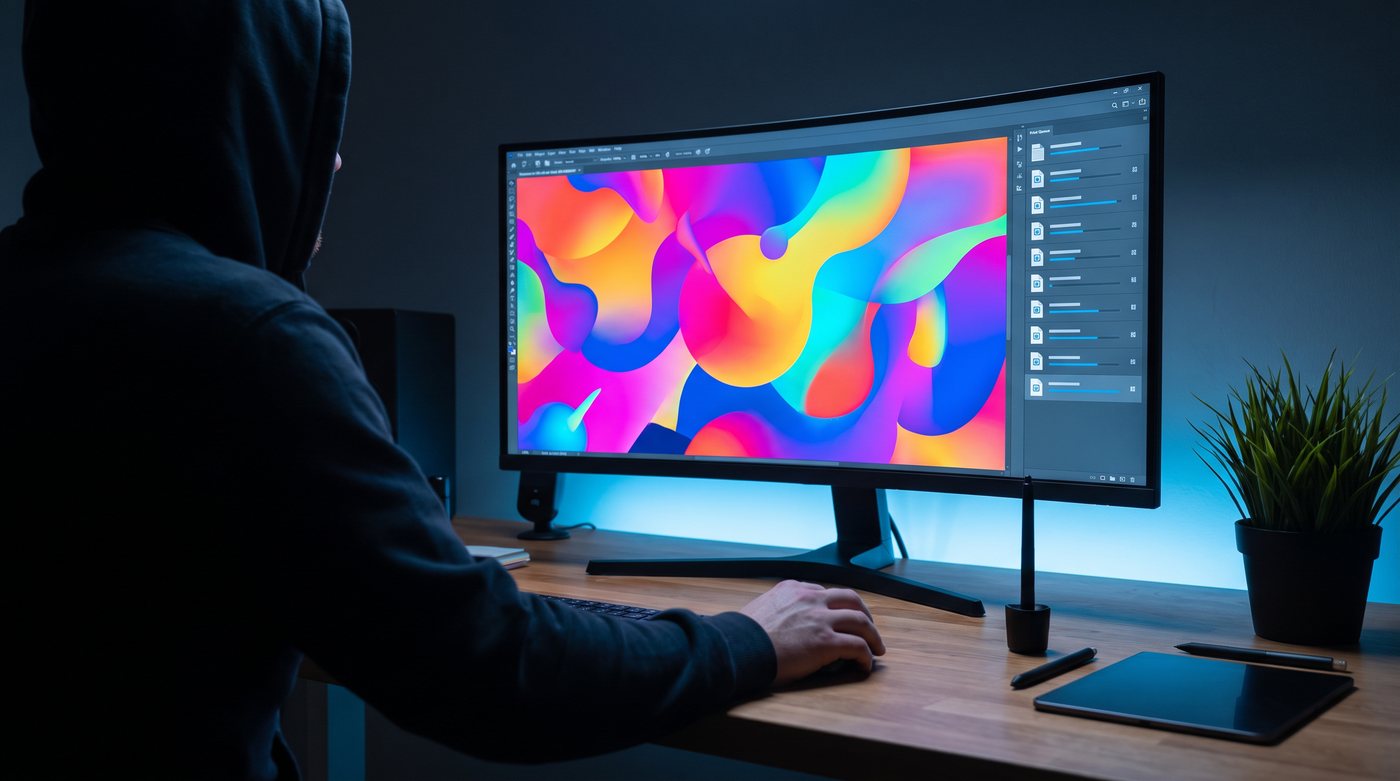
What the RIP does
A RIP (Raster Image Processor) turns your artwork into printer-ready data. For DTF it handles three critical jobs: generating the white ink layer, applying ink limits so you don’t over-saturate the film, and managing color so what you see matches what prints.
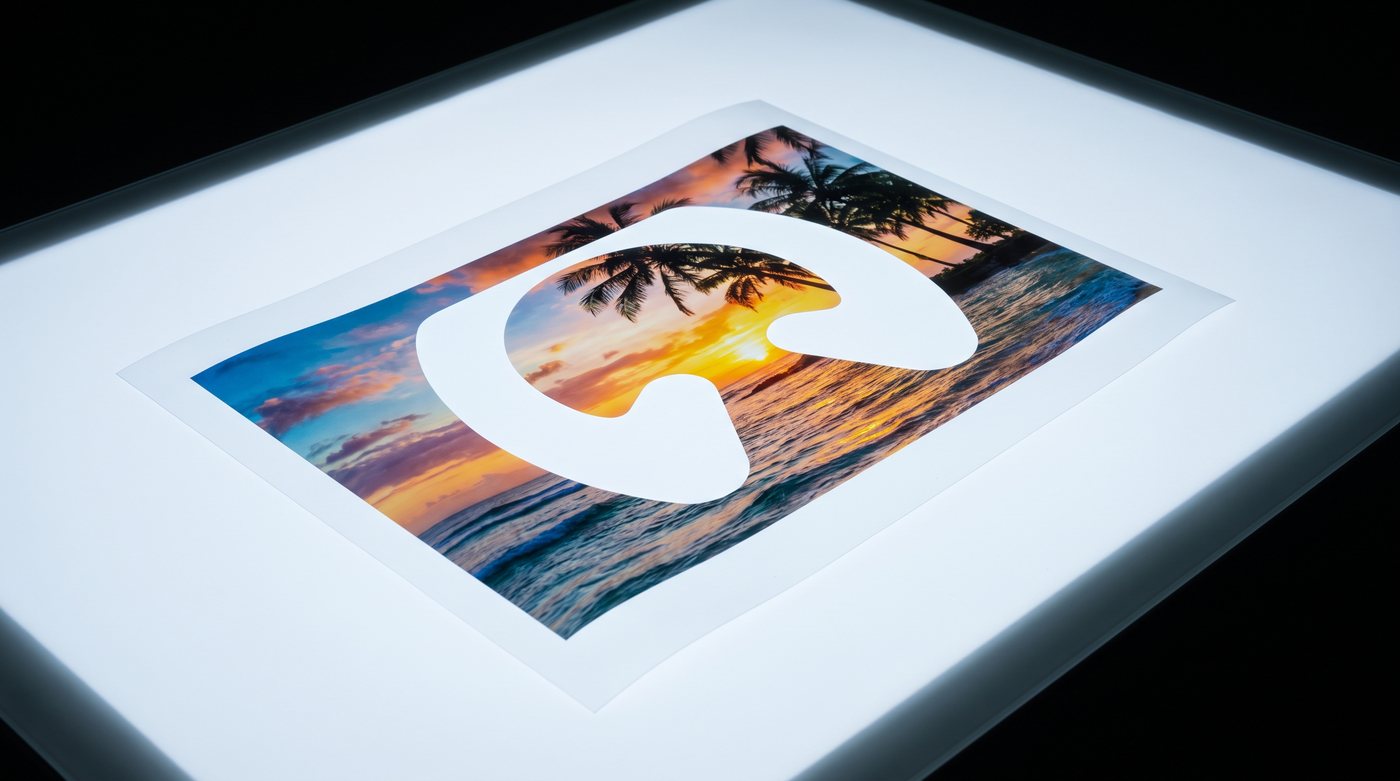
The white underbase
White ink is printed behind your colors so they pop on dark garments. Key settings:
- White generation: create white only under non-transparent pixels — this is why your art needs a clean transparent background.
- Choke (white shrink): pull the white in slightly (about 1–2 px) so it sits just inside the color edges and never peeks out. This fixes the “white halo” / misregistration look.
- Density: enough white for full opacity, but not so much that ink pools. Print a swatch and check coverage.
Ink limits
Too much ink is the hidden cause of slow drying, powder problems, and dull, muddy color. Set your total ink limit so the film stays wet-but-not-flooded, and let the powder adhere cleanly. If prints smear or won’t cure, lower the limit before blaming the ink.
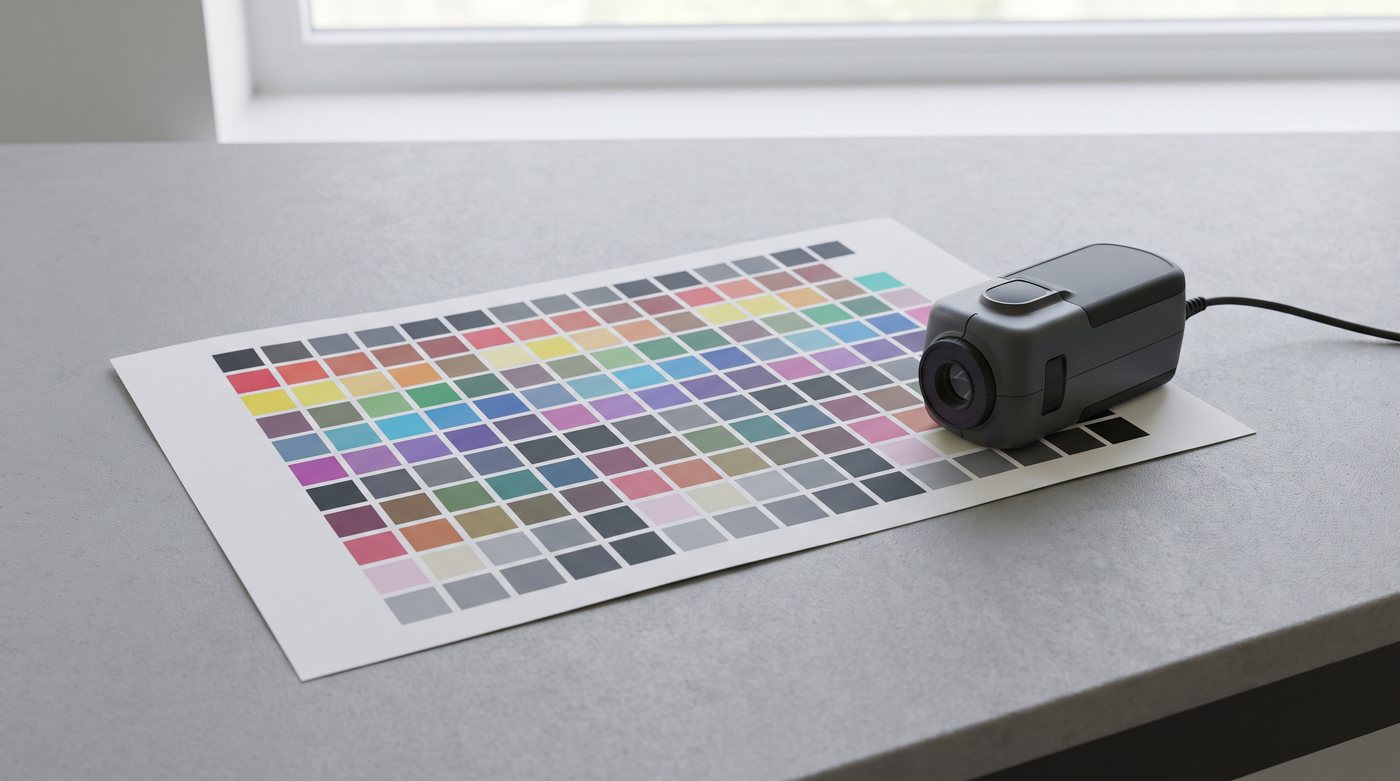
Color management
- Use the correct ICC profile for your ink + film combo — this is the single biggest factor in accurate color.
- Print a test chart and compare to your target; adjust saturation/curves in the RIP, not in your art file.
- Calibrate your monitor so on-screen color is trustworthy.
- Keep ink fresh — aged ink shifts color no profile can fully correct (see shelf life).
Resolution and output
- Print artwork at 300 DPI at final size for crisp edges.
- Mirror the image if your workflow requires it (film prints face-down).
- Confirm the white layer is enabled in the output, not just previewed.
Recommended starting workflow
- Import clean, transparent, 300-DPI art.
- Enable white generation with a 1–2 px choke.
- Load the ICC profile for your ink/film.
- Set a sensible total ink limit.
- Print a test swatch, check white opacity + color, adjust, repeat.
Getting clogs, banding, or dull color even with good settings? See our troubleshooting guide. Need the software or fresh supplies? Visit our supplies shop or contact us.