A DTF print is only as good as the file you start with. Get your artwork right — resolution, transparency, color, and edges — and every transfer comes out crisp and vivid. This guide covers exactly how to prepare designs for DTF.
Start with the right resolution
Build your artwork at 300 DPI at the final printed size. A design meant to print 11″ wide should be 11″ wide at 300 DPI in your file — don’t design small and scale up, which turns edges soft and jagged. Vector art (from Illustrator) scales cleanly to any size and is ideal when available.
Transparent background is essential
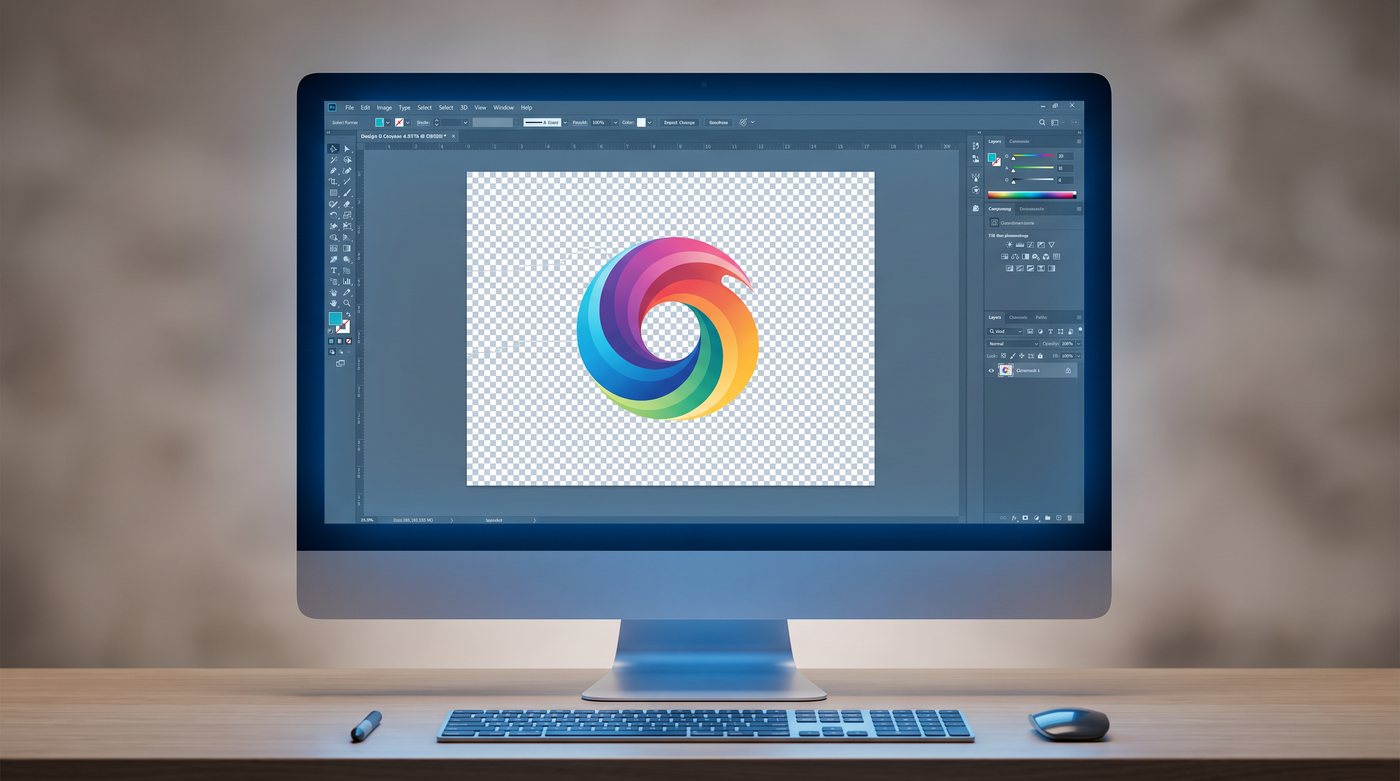
DTF prints white ink and adhesive behind every non-transparent pixel. If your background isn’t truly transparent, you’ll get a white box or halo around your design. Always:
- Export as PNG with a transparent background (or TIFF with alpha).
- Remove stray pixels and leftover background specks — they print as tiny ink dots.
- Zoom to 400% and check the edges are clean.
File formats that work
- PNG (transparent, 300 DPI) — the everyday standard for DTF.
- Vector (AI, EPS, SVG, PDF) — best for logos and text; scales with no quality loss.
- TIFF — high quality with transparency, larger files.
- Avoid JPG — no transparency and compression artifacts.
Color: design in the right mode
- Work in RGB for DTF — the RIP software handles the conversion to the printer’s inks.
- Expect slight shifts from screen to print; a good ICC profile keeps them small.
- For brand colors, print a test and adjust in the RIP, not by guessing on screen.
Handling fine detail and thin lines
- Keep thin lines and small text reasonably bold — hairline strokes can drop out or lift after washing.
- Outline your fonts before sending so nothing reflows or substitutes.
- Very small, isolated elements are fragile once cut — give them a little size.
Designing for dark vs. light garments
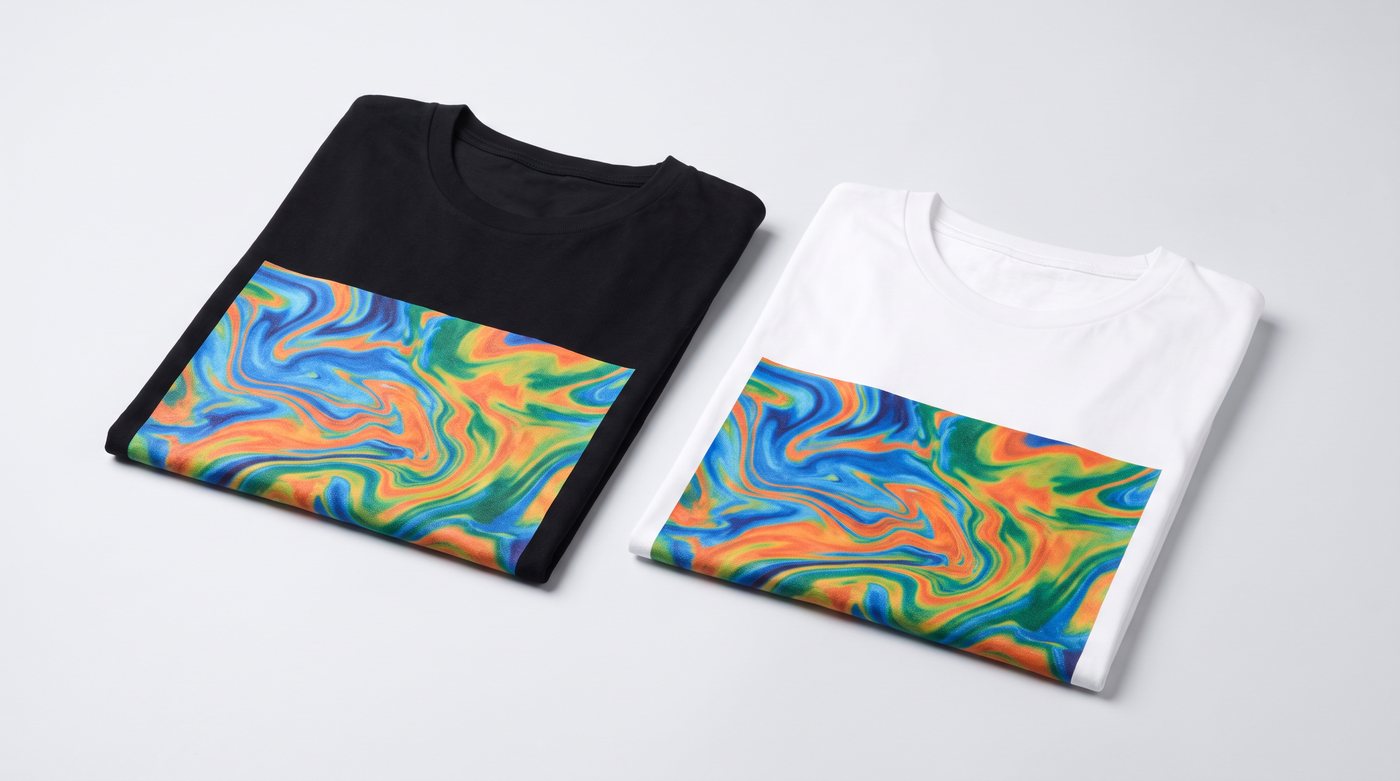
DTF’s white underbase makes colors pop on dark shirts, so you generally use the same file for light and dark. Just make sure any intentionally white areas are actually white in your art (not transparent), and any areas you want to show the shirt color are transparent.
Prepping for gang sheets
Building multiple designs onto one sheet? Keep each at final size, transparent, 300 DPI, with a little gap for cutting. Full details in our gang sheets guide.
Quick pre-flight checklist
- 300 DPI at final print size ✓
- Transparent background, clean edges ✓
- PNG or vector ✓
- Fonts outlined ✓
- No stray pixels ✓
Files ready? Upload them for gang sheets, learn the right design software, or contact us and we’ll check your art before printing.