Even a perfect print looks wrong if it’s the wrong size or in the wrong spot. This guide gives you standard DTF placement locations and sizing so your designs land in exactly the right place every time.
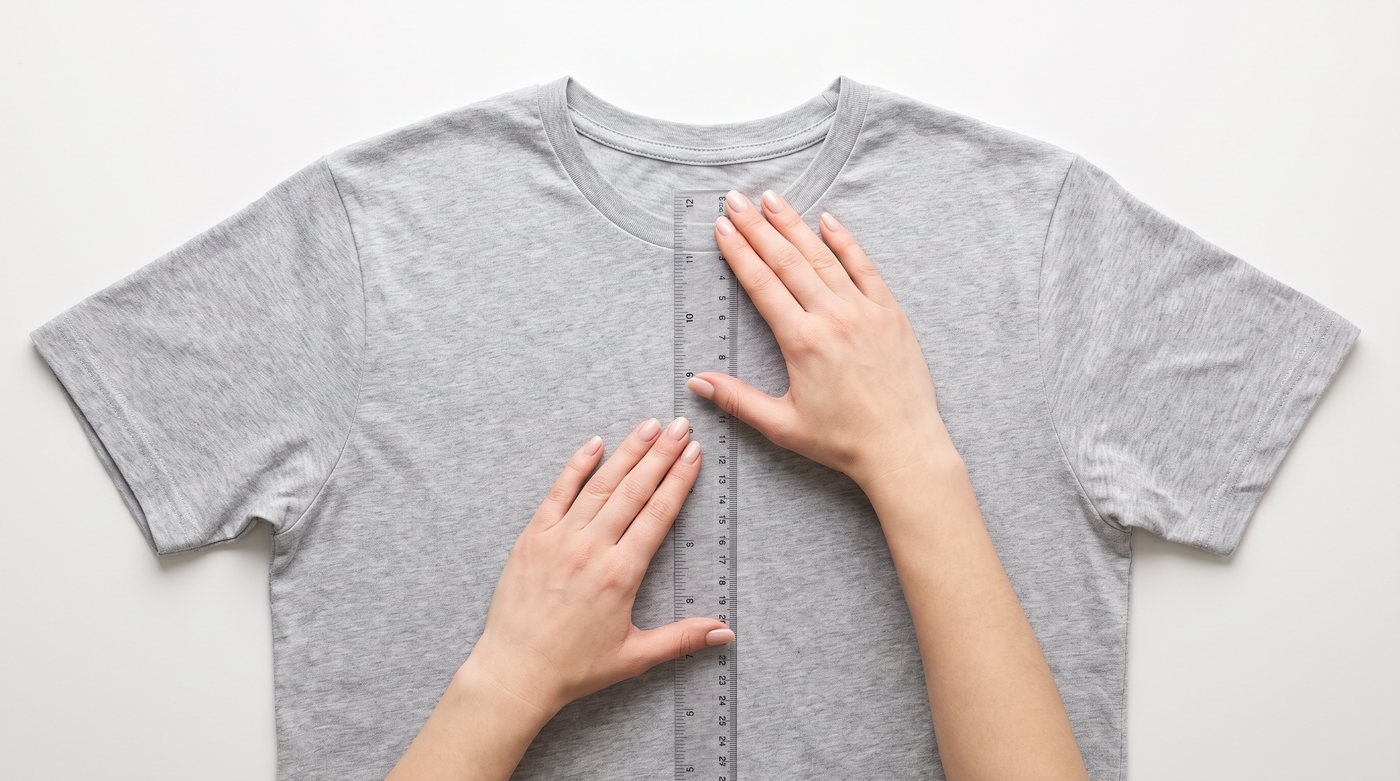
How to measure placement
Placement is measured from a fixed reference — usually down from the collar and centered left-to-right. Use a ruler or a placement tool, and lightly mark with tape before pressing. Always account for the garment size: what’s centered on an adult L looks low on a youth S.
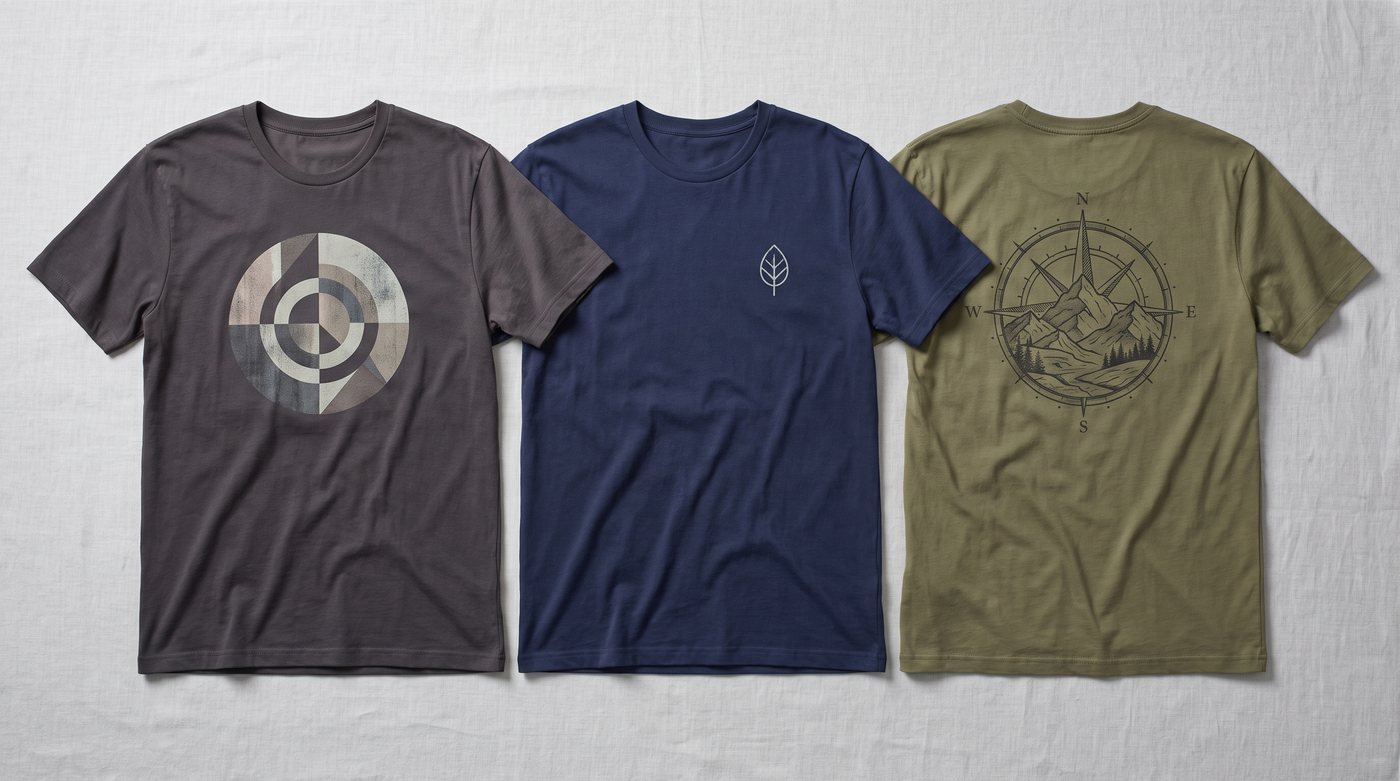
Standard placements & sizes
| Location | Typical width | Position |
|---|---|---|
| Full front (adult) | 10–12″ | 3–4″ below the collar, centered |
| Left chest / pocket | 3–4″ | 4–5″ from center, 7–8″ down from shoulder |
| Full back (adult) | 11–13″ | Upper back, ~3″ below collar seam |
| Youth front | 7–8″ | 2.5–3″ below the collar |
| Sleeve | 2.5–3.5″ | Centered on the sleeve, a few inches from the hem |
| Hoodie front | 10–11″ | Above the pocket; mind the seam |
These are common starting points — adjust for the specific garment and look you want.
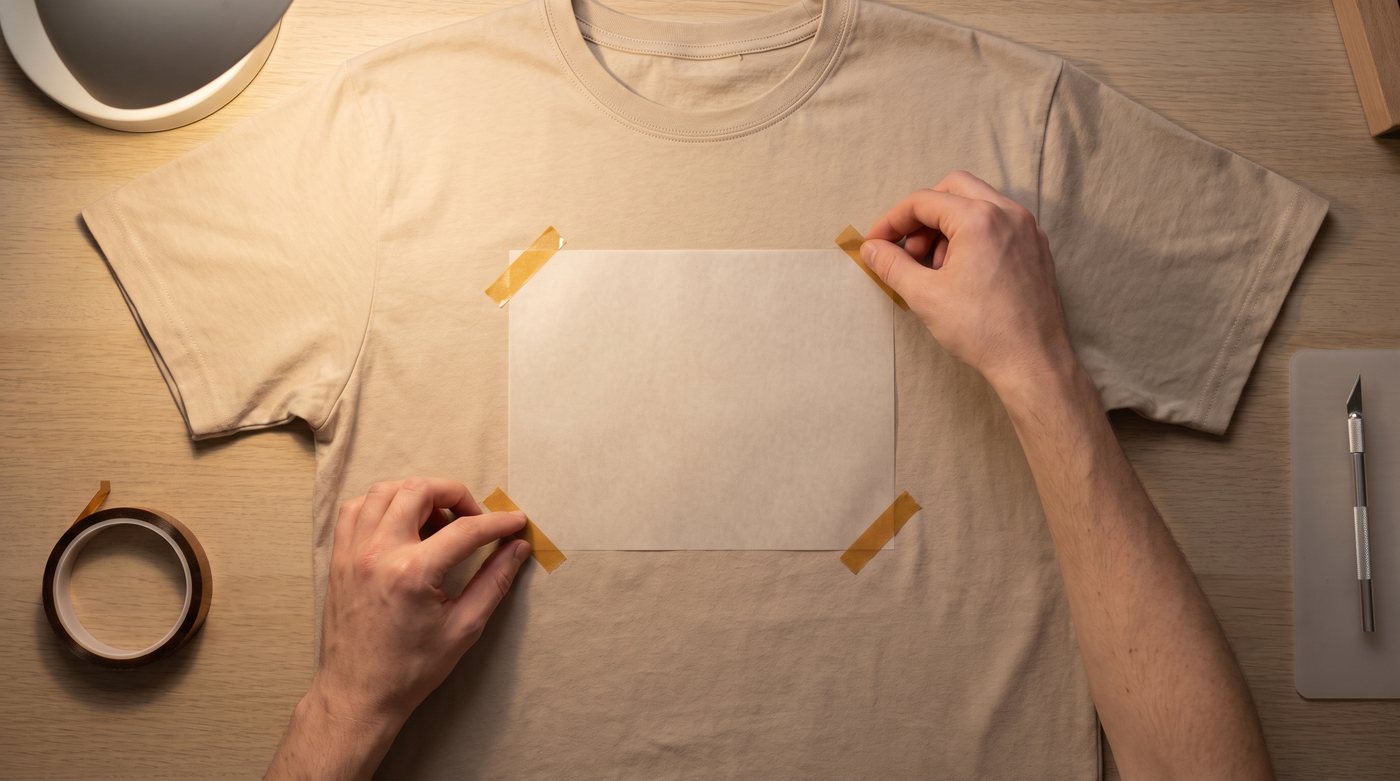
Placement tips that prevent do-overs
- Fold to find center: fold the shirt vertically and crease lightly to mark the centerline.
- Watch seams, zippers, and pockets — pressing over them causes uneven adhesion. Use a pillow if needed.
- Size to the garment, not a fixed number — scale designs down for youth and slim fits.
- Left chest is the wearer’s left (their heart side).
- Mock it up: lay the transfer on the shirt and step back before you press.
Design at the right size from the start
Build your artwork at the exact width you’ll press — see designing artwork for DTF. Scaling a small file up loses sharpness.
Then press it right
Once positioned, follow our heat-press settings and application steps for a clean, durable result.
Need custom transfers sized to your garments? Contact us or order ready-to-press gang sheets.